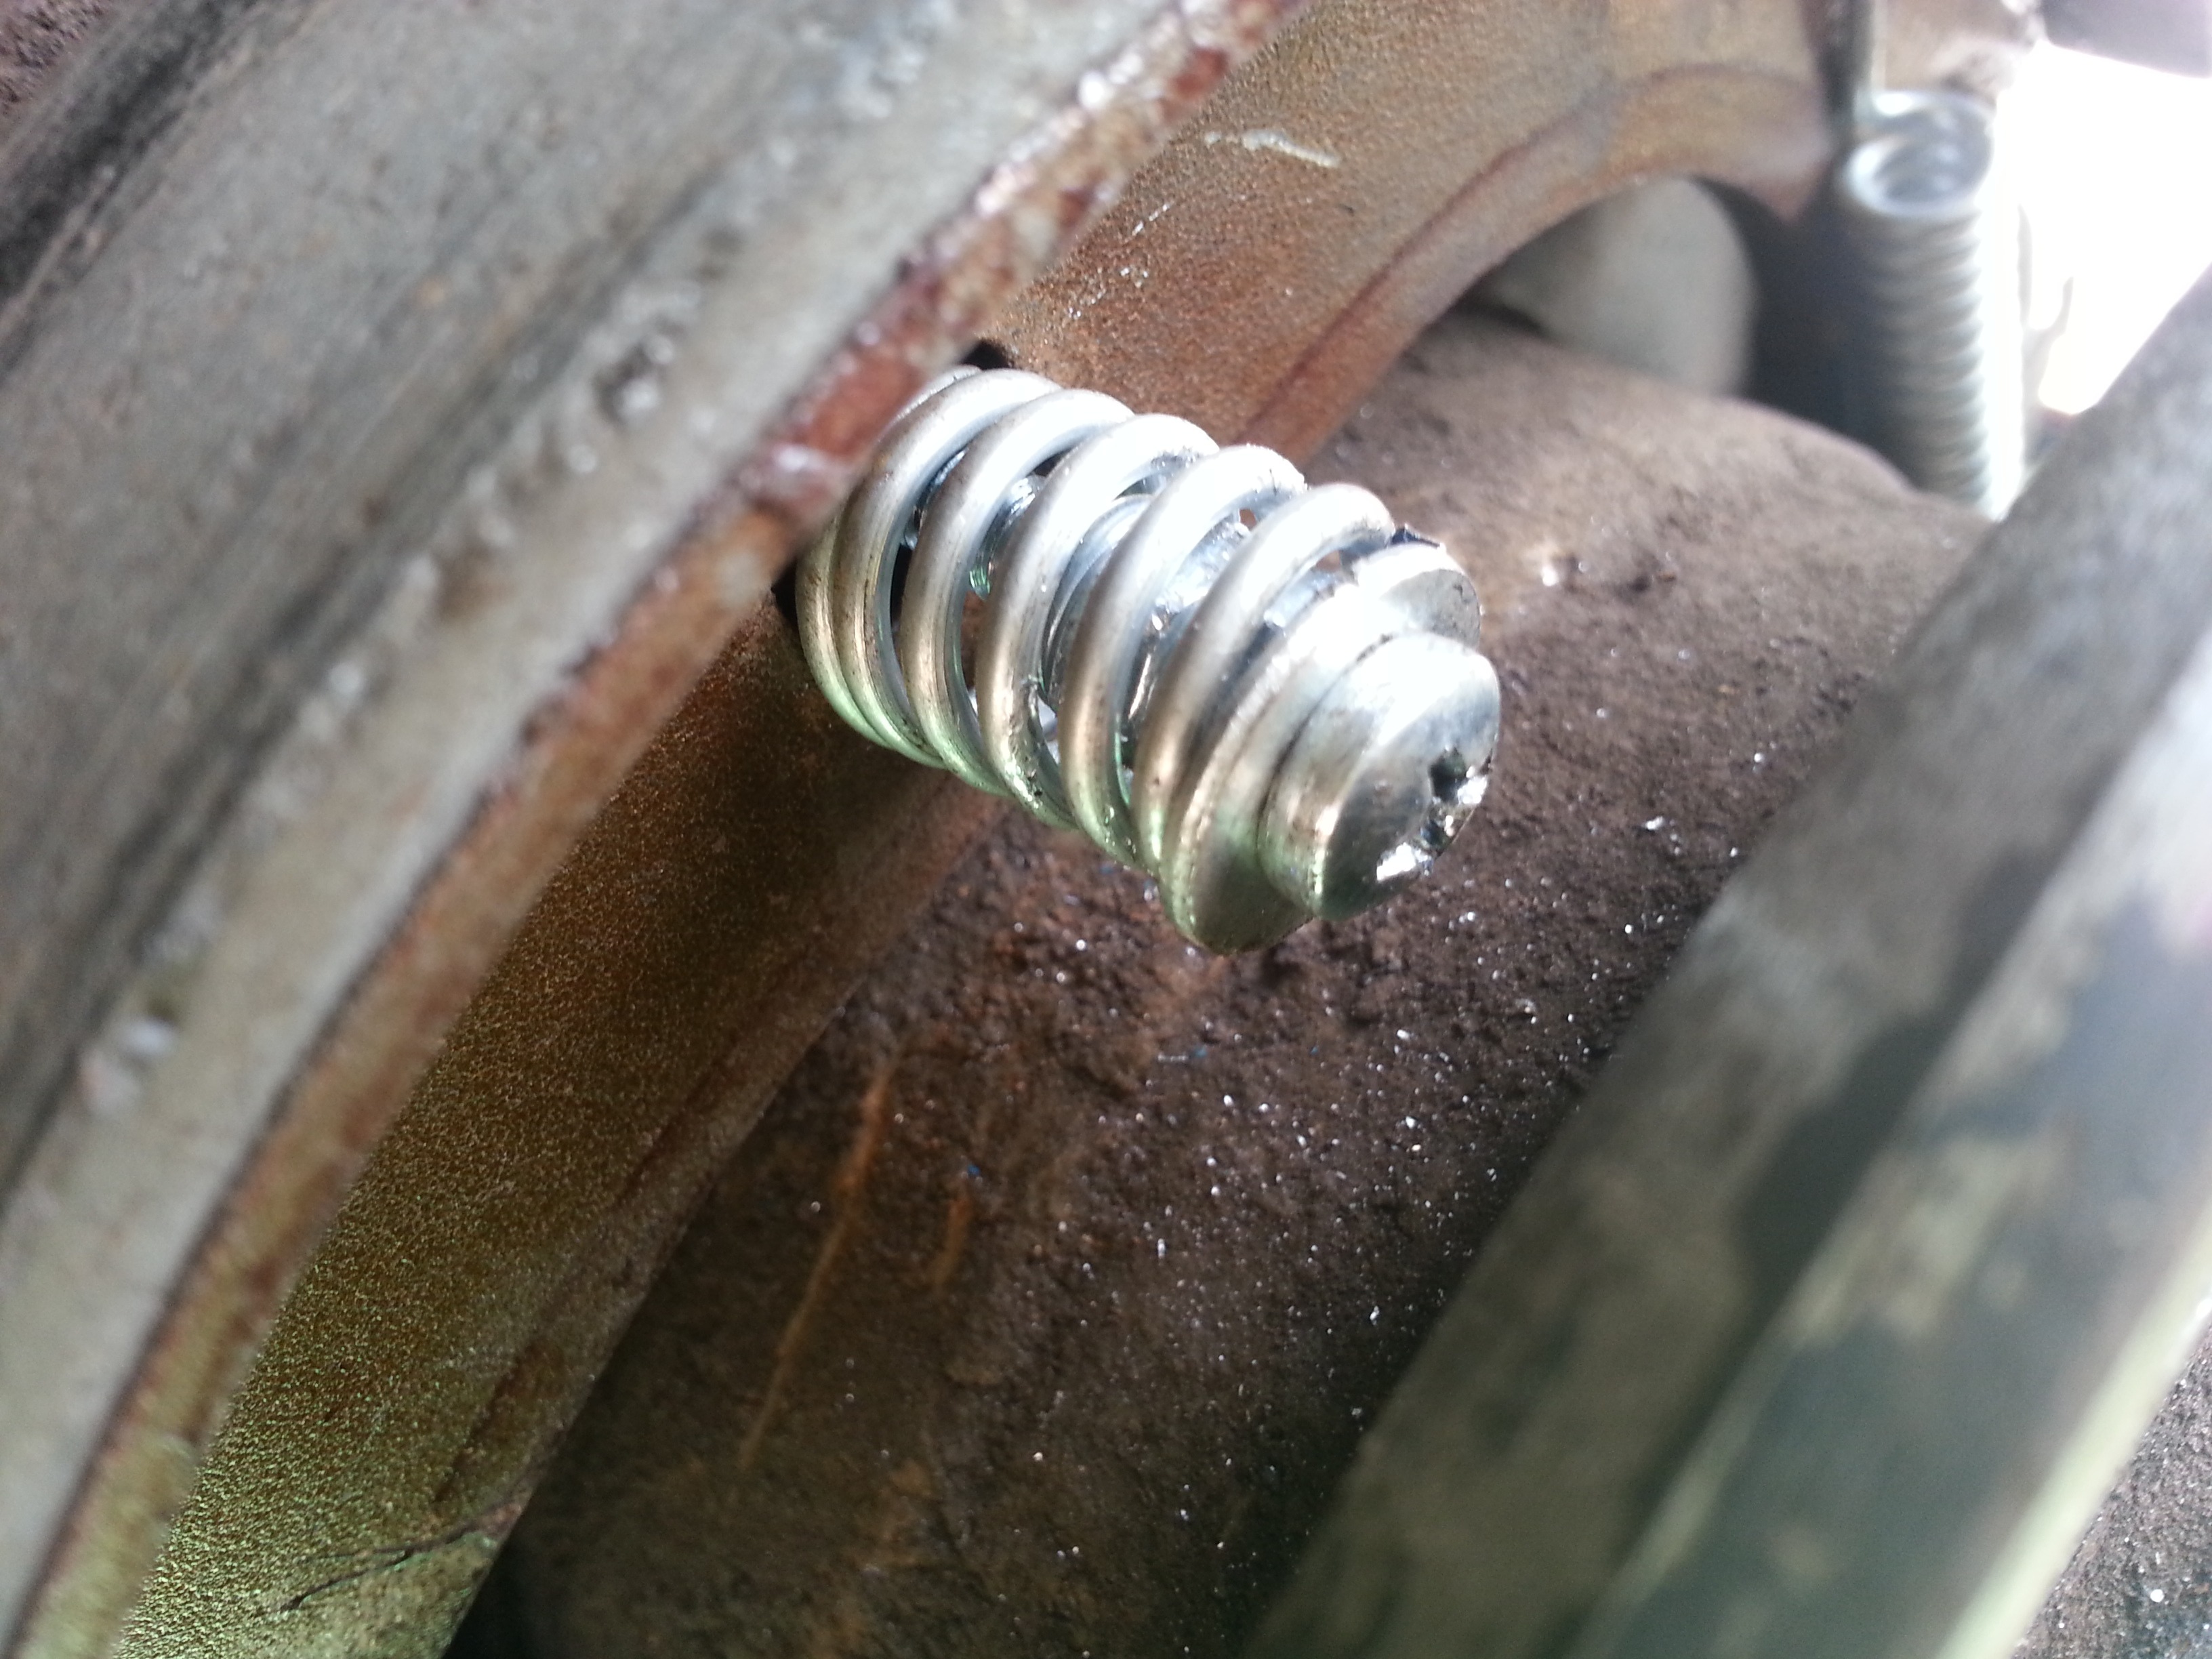
I have never before seen as tight fit for the new brake pads to brake caliber like this BMW had… If the pads would have been 0,5mm thicker they would not be possible to install. Before starting to install the new pads I cleaned all the surfaces from the caliber and the slider where the pads are touching with a file to avoid stiction (+polished and greased sliding tenons). They really needed to squeeze together until the outer pad slipped in to it’s place (almost uncomfortable much). But I guess that’s value for the money since there is now absolutely the maximum amount of wearing surface available.
Tasks for tomorrow:
Oil change
New side indicator lights
Gear selector light (I might also change the voltage meter light to LED)
New rear register plate lights
Fixing roof window seal with Sikaflex 521UV
Some final paint job
Friday I will assemble the trunk upholstery back and that’s it, BWM tune up for this summer is ready.
One thing I forgot to mention is that I installed modern Volvo windshield washing fluid nozzles to replace BMW original ones. I used the original ones adapter to fit the new ones by grinding them flat first and then carving proper hole for Volvo nozzes (which are slightly smaller). Reason for this change was that Volvo nozzles spray the water really nicely (only if you use original Volvo nozzles, the aftermarket ones will not work). The original BWM nozzles just peed the fluid with four pointy spouts and that’s pretty old fashion and lame way which does also cause extensive wear of the glass because the wipers are grinding it partly dry.
Before continuing with the tractor I will make new front and back doors to my parents house:
I also planned to do a couple of upgrades to the camping trailer, but that should not take too long. This door project will take some days, but since it is also waiting for the paint to dry I can do those camping trailer upgrades meanwhile.
For some reason the sun roof handle had been broken:
I decided to try to make a working handle by my self and this is the end result:
I took 12mm stainless steel rod and drilled about 2cm deep and 7mm wide hole in the middle of that. Next step was to the part with hole out from that rod and make the hole oval shape 7,5mm x 9,0mm. It took some time with the tools I had available (I used mainly electrical handheld drill) to make the hole oval shaped, but the end result was really nice. Then I just welded two small pieces of metal and did some finishing to it, like adding mechanism to lock the lever in its place.
Here is the final installation, not as nice as the original, but looks good enough at least to me and hopefully it is stronger:
Once I took the drivers side rear brake disc off these dropped out:
Root cause for this is rust:
That hole should not look like + sign, instead it should look like minus sign… So even I purchased a new mount/spring set for the hand brake system I needed to figure out how to make the spring to stay at it’s position. I come up with this solution:
Note the two nuts inside the spring. They were needed to center the spring so that it sits nicely. I used nylock nuts to make sure they will stay there.
Only one spring needed this fix, others were still good enough shape, however I expect them needing this same fix after a couple of years since they had started to rust similar way toward plus (+) shape.
The actual light installation went rather well, even it was not that easy to get those installed properly:
But then the damn controller box is not turning the lights off when the engine is stopped.. I will throw a duck with that damn thing and replace it with two relays.